
Since building the Hi-Fi Collective Glasshouse ‘Speaker Kit No. 1, I’ve had a lot of eMails from keen DIYers looking to build a kit but struggling with the challenge of finishing it to a high standard. Traditional veneering isn’t for everyone. It requires tools, space and material scraps that a first-time builder may not have accumulated.
After chatting with Nick about this, I went down the rabbit hole of vinyl wrapping. In theory it is the easiest option. Cover the cabinets in a layer of sticky-backed plastic faced with your solid colour or woodgrain pattern of choice, and you should end up with a respectable finish that simulates the real thing.
I set about testing various vinyl products, from Fablon to D-C-Fix, the two biggest brands available in the UK. Fablon is the most recognisable name that has existed for decades, commonly used to tidy up tattered furniture. DC Fix is well established and is typically used in kitchen makeovers or more industrial settings where a more durable product is desired.
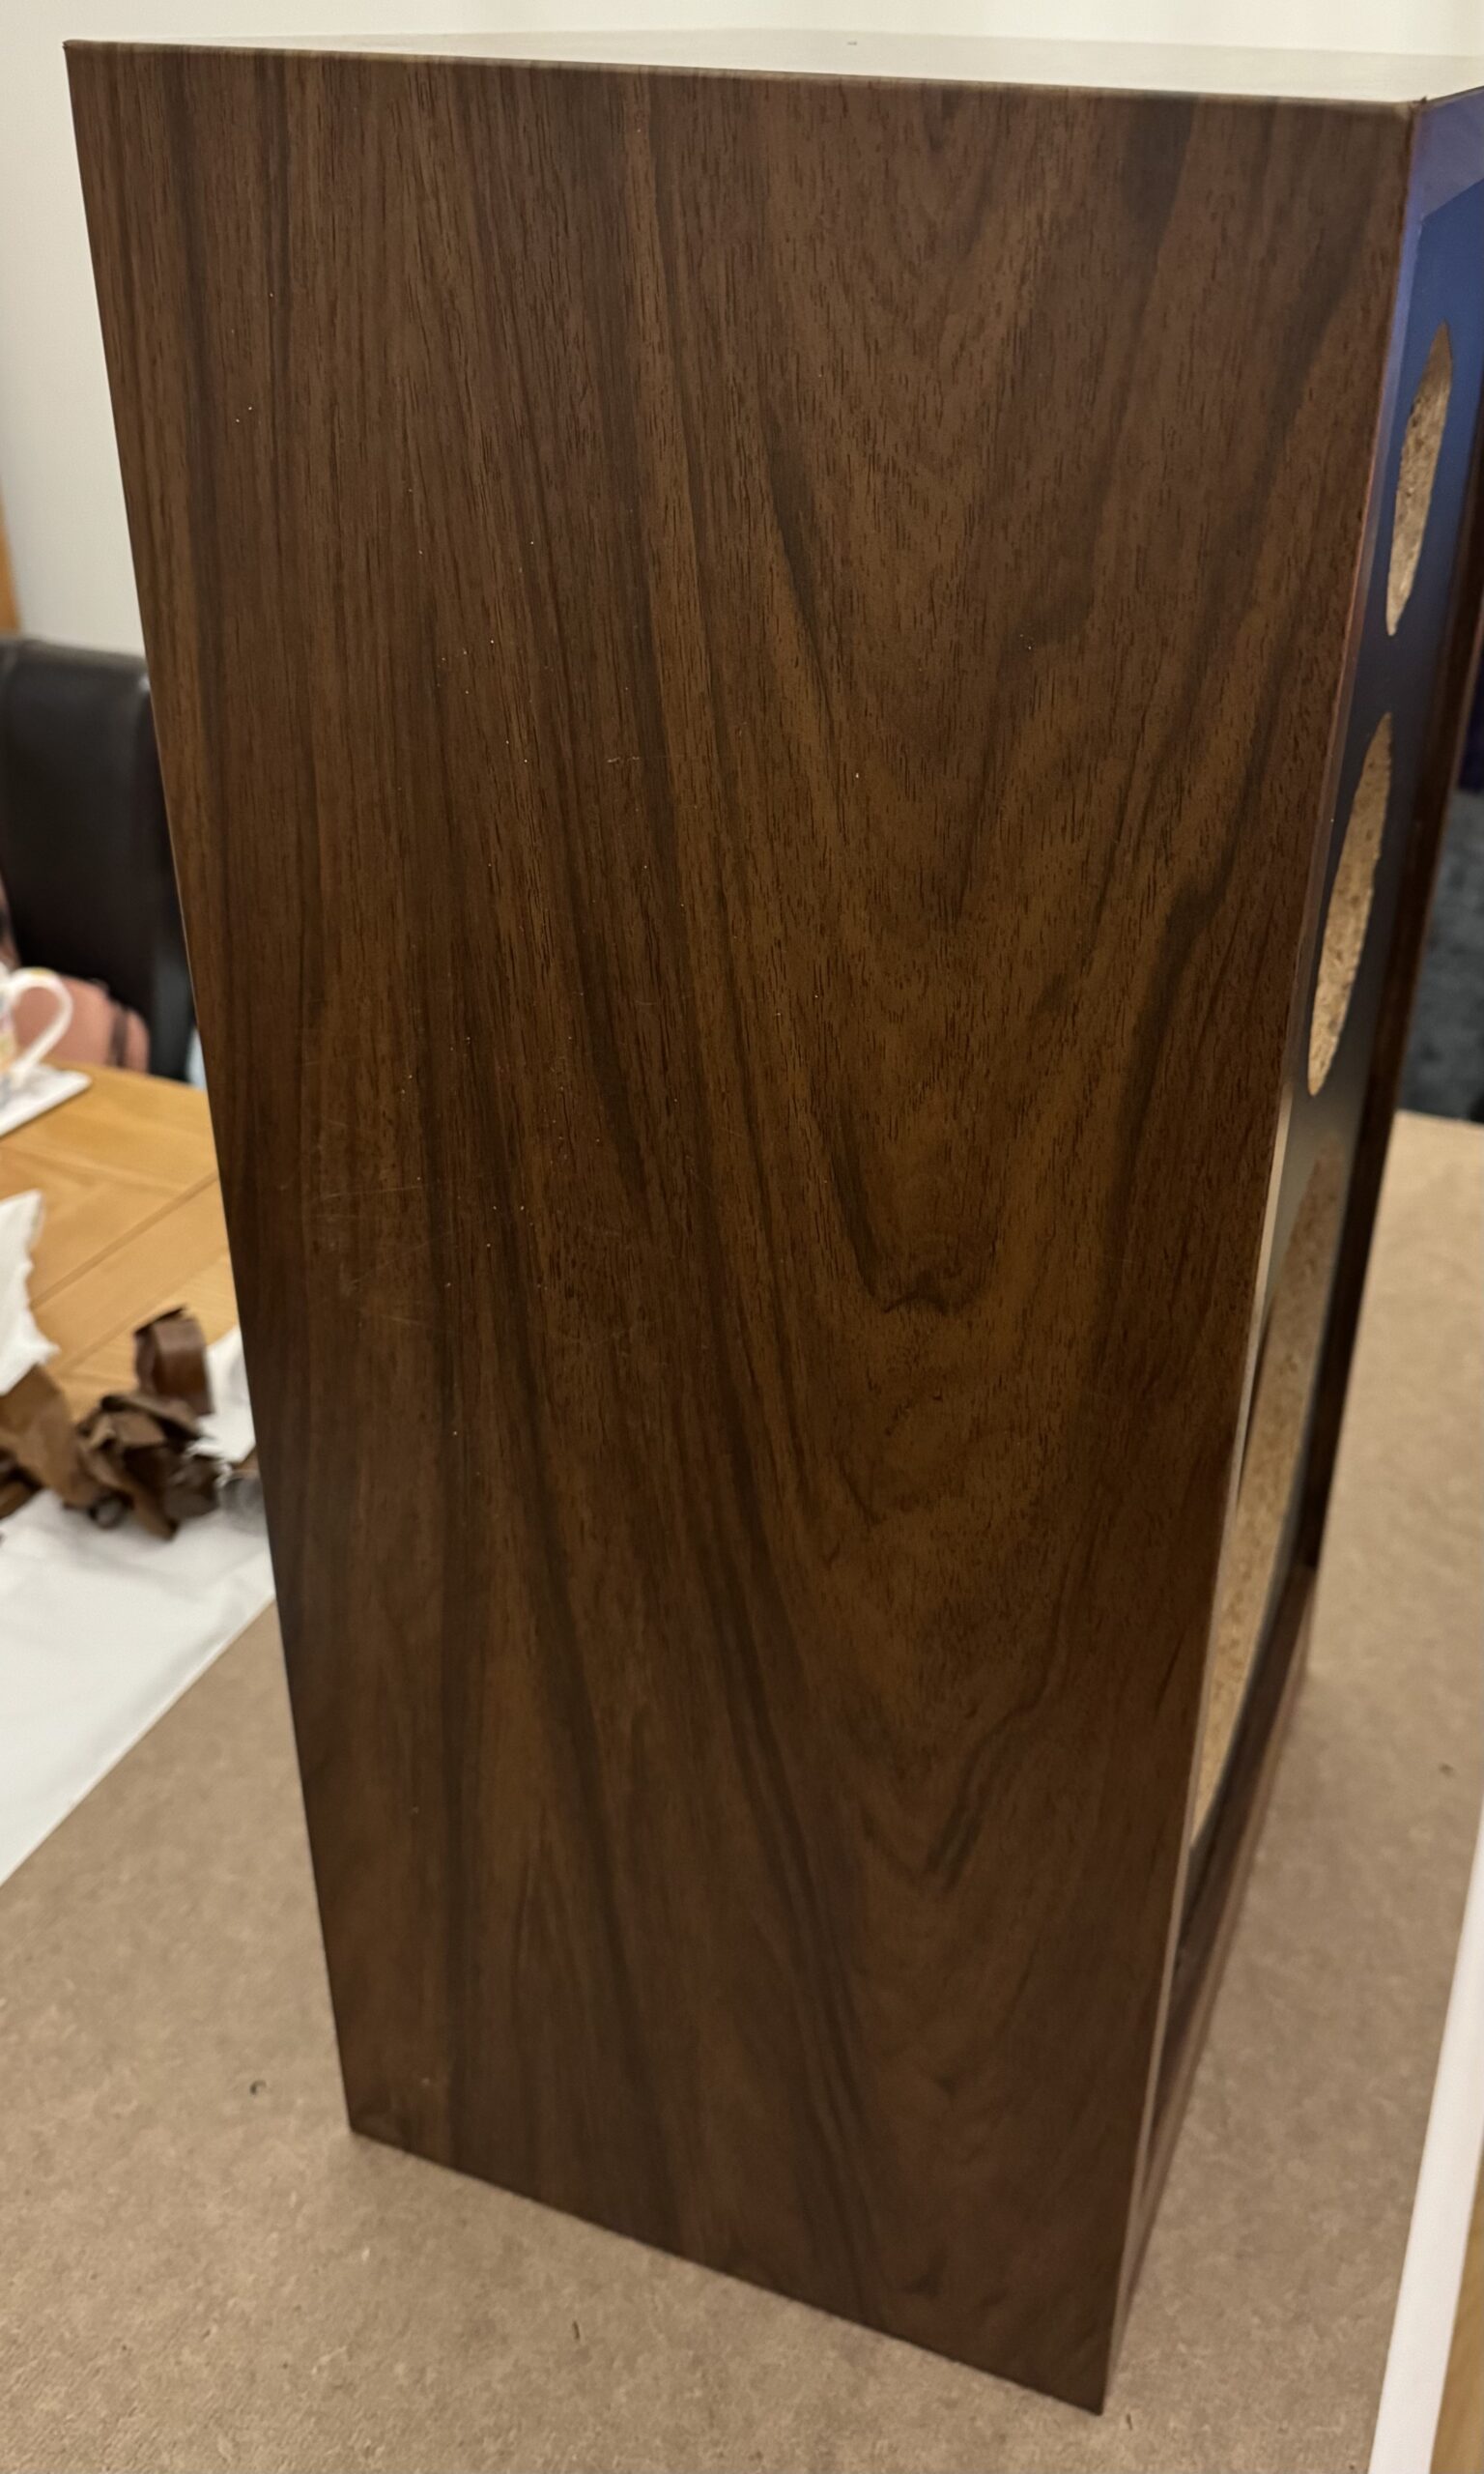
I had no luck with either. I’ve wrapped old ARs before, but never with a result that I was entirely happy with. These products are fine from a distance, but getting fine details on corners and edges is nigh impossible. And without painstaking surface preparation, they quickly start to peal.
You could certainly vinyl wrap your glasshouse speakers, or any speaker for that matter, and get acceptable results. It depends on your degree of perfectionism and what you can accept.
I turned to looking for alternative veneer options and came up with iron-on veneer sheets. In the UK the best source for these is Veneers Online, with a wide range of species in pre-cut rolls, nominally 300 mm wide x 2.5 m in length. The iron on veneer consists of a real wood veneer bonded to a paper backing, which in turn has a pre-applied film of hot melt adhesive. You lay the veneer on the substrate and heat it with a household iron, which melts the glue and bonds the veneer to the surface.

This isn’t without its challenges. The heat from the iron quickly dries any moisture retained within the wood, and can cause it to shrink. Some iron-on veneer sheets are composed of multiple jointed pieces, rather than a consecutive full-width piece of veneer, so the shrinking can open and expose gaps where these joins meet.
And because heating the veneer removes moisture from it rapidly, any moisture in the air post application can cause the unsealed wood to rapidly expend, and delaminate from the surface. Believe me, there is nothing more frustrating than returning to a beautifully veneers speaker after it has been sitting in the workshop over night to find most of the veneer lifted and your once-perfect joints now impossible to close.
Caveats aside though, the iron-on veneer remains the easiest method in my opinion to achieve a high-quality finish on a DIY speaker. You will require a few tools:
- A sharp craft knife. Used to cut the veneer and assist in trimming the edges.
- Recommended, a block plane. Makes flush trimming the edges a great deal easier.
- Sandpaper and a sanding block. You’ll want sandpaper in various grits from P80 to P320 or higher for a nice finish. You can use P80 with a sanding block to flush your edges if you don’t have a plane.
- An iron. An ordinary household steam iron works just fine. I bought the cheapest one I could buy locally, specifically for veneering
- Rags (to apply your finish), and 0000 wire wool if you would like to replicate the finish described here.
- Optional, PVA glue and an applicator, either a brush or a roller.
Along with your veneer of choice, of course, you’ll also need some finish. I reached out to Chestnut Products who are by far and away my preferred manufacturer of wood finishing products. I use Chestnut finishes in my woodturning and they have never let me down. Their friction polish is a particular favourite, though it requires the friction of a spinning workpiece against the application cloth for the best results so is not applicable here.

I reached out to Chestnut asking about the suitability of their finishes for iron-on veneer. You don’t want a finish that penetrates too deeply into the wood, or you risk the finish reacting with the adhesive bonding the veneer to the backing paper and causing delamination. But you do want a finish that can seal the wood from moisture ingress, preventing the tendency for the veneer to lift that i outlined earlier.
Terry suggested either a Hard Wax Oil or a combination of Sanding Sealer and Wood Wax 22, and kindly sent some of both to use in this project. I’d like to extend my gratitude to Terry and Chestnut finishes for their support.
The Method
Iron-on veneer must be applied to a clean, dry and smooth substrate. It is recommended that wood and sheet goods such as MDF be sealed prior to applying the veneer, though this is optional. If you’re installing magnets for grilles as I usually do, these must also be installed prior to veneering.

You can seal the wood by applying a light, even coat of PVA wood glue all over with a brush or foam roller. Let it dry, and sand it smooth with 120 or 180-grit sandpaper. Pay particular attention to the edges where drips and runs can accumulate.
Sealing the wood helps strengthen the bond between the hot melt adhesive layer on the veneer and the substrate by preventing any adhesive that gets hot enough to become liquid soaking into the substrate. Using PVA adds further strength as it will melt slightly under the heat of the iron, acting as a secondary bond which will further secure the veneer.

Once you have a smooth, dry surface, start by cutting your veneer sheets to size. Trim slightly oversized, allowing an overhang on all edges. 6 mm is more than sufficient if you’re comfortable, but you can leave more if you like. Don’t trim the veneer perfectly to match your cabinet, as it will shrink when you iron it.

Label your parts. You want to keep the top, sides and bottom consecutive in regards to their position on the length of veneer, ensuring that the grain follows the same path around the speaker. This is less important with some species of wood than others, but it’s good practice regardless of the wood you choose.
With your pieces cut and labelled, you can start veneering. Begin with the rear panel. The goal is to veneer the box in away that minimises the visible edges of the sheets at the joints. By veneering the back first, you ensure that the edges of the top, sides and bottom veneers are behind the speaker. Likewise by veneering the bottom next, the edges of that piece won’t be visible from the sides.
So, veneer the back. Lay the sheet of veneer centred on the rear of the cabinet. Set your iron to a hot / cotton setting and lay it on the veneer. DOn’t let the iron sit for too long, or your risk burning the wood. Keep it moving, but iron from the middle out toward the edges. If you iron from the edges in, you risk trapping air beneath the veneer as it curls due to the heat, and your piece of veneer is more likely to shift relative to the panel you’re veneering.

Ensure you thoroughly iron the entire surface in smooth, even strokes. When you reach the edges, tilt the iron slightly. Not enough to break the veneer, just enough to ensure a secure bond at the very edge of the panel.
When you have the veneer bonded, you have to trim it flush before you can veneer the other sides of the box. Take a craft knife and, with the veneer face down on a sacrificial and cut surface, cut away as much of the excess as you can, but don’t cut it tight. When you cut the veneer with a knife, especially across the grain, you risk chipping the cut edge. Therefore leave a small amount of overhang.

You can remove the remaining overhang either using a block plane (preferred) or sandpaper on a block. If you’re using sandpaper, sand vertically down from the veneer face, as if you were bending the veneer over the edge of the box, until most of the overhang is removed, You can then sand against the adjacent faces to give you a perfectly flush veneer edge.
Apply the same method to the remaining faces of the box. Bottom panel next, then the sides, top and finally the front. Doing the front last means there are no visible veneer edges on the front of the speaker. YOu’ll never avoid them without pre-veneering and mitring the box panels prior to assembly, and in reality they’re so thin as to be negligible anyway.

I’ve learned from bitter experience that the key to iron on veneer is to get it sealed immediately after applying it. Because the heat from the iron shrinks the veneer, any moisture in the air can cause it to expand if it is left untreated for too long. Consequently you may experience lifting areas where the rate of expansion exceeds the strength of the adhesive bond.
I started with a coat of Chestnut acrylic sanding sealer, applied using a rag. I applied the sanding sealer immediately after the veneer was applied, before sanding the surface. sealing the veneer in this way stabilises it and raises the grain slightly, so when you sand it you’ll be left with a smooth surface.
I then sanded the veneer through 120, 180 and 240 grit. The veneer is pre-sanded from the factory, but, again, shrinkage is your enemy here. I used an orbital sander, which made the job a lot easier, but you could certainly do it by hand. Sanding is my least favourite aspect of woodworking by far, so I prefer to get it over with quickly.
Once the cabinets were sanded, I applied another coat of sealer. This is the final coat before the wax finish. I left it for a day to fully harden, and smoothed the surface with a light 240-grit sanding to remove any lumps where the hardened sealer had pooled on the surface.
I then made the baffle cutouts. Since i was flush-mounting the drivers in these boxes, veneering them first meant I’d end up with a neat cutout around my driver recess. You can trim veneer into a driver recess with a sharp knife and a lot of patience, but if you’re building a speaker from scratch it is far preferable to veneer the baffle before you make your cutouts.

Of course, if you’re veneering pre-made boxes like the Glasshouse kit, you can’t pre-veneer the panels. However those drivers are surface-mounted, so it isn’t an issue. Simply cut around the driver holes with a sharp knife, and sand the edge smooth.
With my baffles cut, I proceeded to apply the final finish. Chestnut sent a tin of Wood Wax 22 which gives a lovely glossy finish over the acrylic sanding sealer. I applied the first coat with 0000 wire wool following the grain direction. Using the wool further smooths the surface and will catch any sanding sealer missed during the final sand. I then buffed the wax with a clean, dry cloth until excess was removed and the surface was smooth to the touch.

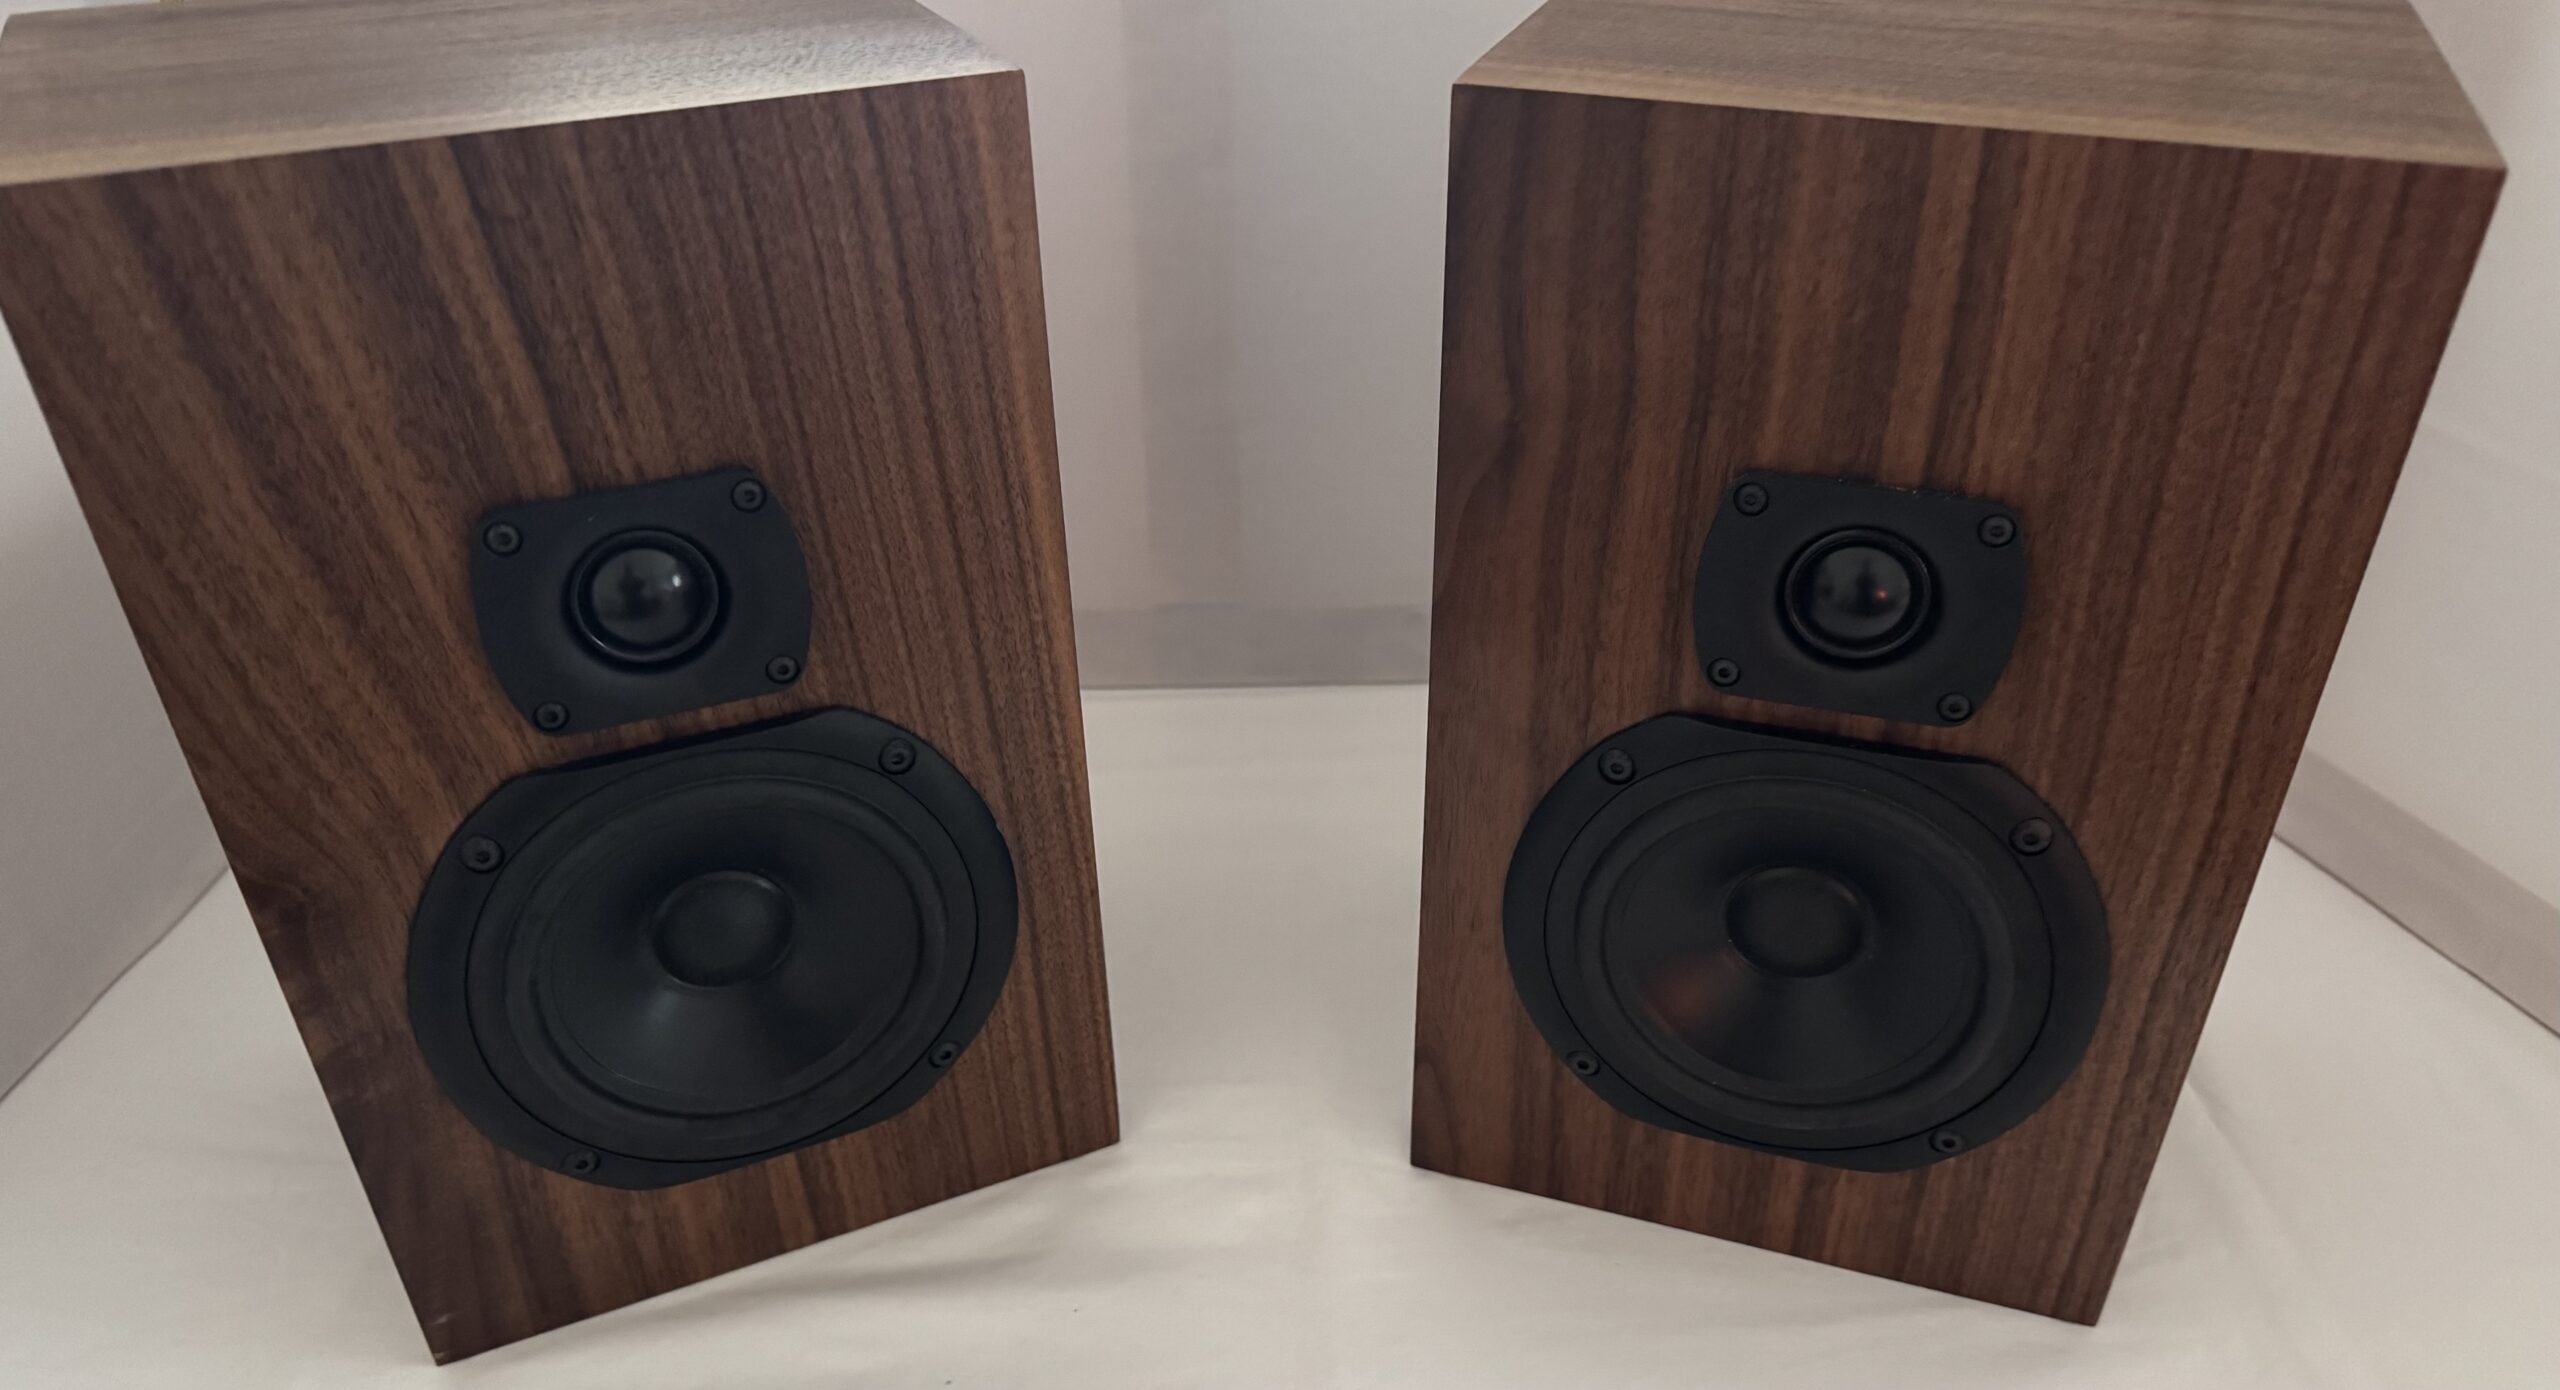
I left it to harden for a day, and then applied another coat, this time with a rag. I applied the wax, left it for 20 minutes or so, and then buffed to a shine. I’m really pleased with the final finish.
That is the process of veneering speaker boxes with an iron-on veneer. It is no more difficult than using a traditional veneer, but requires fewer tools, less space and is less messy. It also gives you a greater margin for error so is perhaps a better option for the first-time speaker builder. Stay tuned to find out what becomes of these cabinets. Until then…
Discover more from Audio Appraisal
Subscribe to get the latest posts sent to your email.
